WebEx Download Instructions
To join a NICE Systems webinar you will need to download, install, and configure the WebEx Event Manager, if you do not already have it downloaded. The first time you join an event, the Event Manager will automatically be installed; however you can manually download it here.
Notes:
- If you are using a non-Windows or Macintosh operating system or browser other than Internet Explorer or Firefox, a Java Client will be downloaded automatically when you join an event. For more information, go to the FAQs
- You must have administrator privileges on your computer to use this installer.
See the instructions below for your system and browser:
Windows Internet Explorer
Step 1 - Download the installation software for WebEx
You can click here to start the download
Step 2 - When prompted, click "Run" to begin the installation
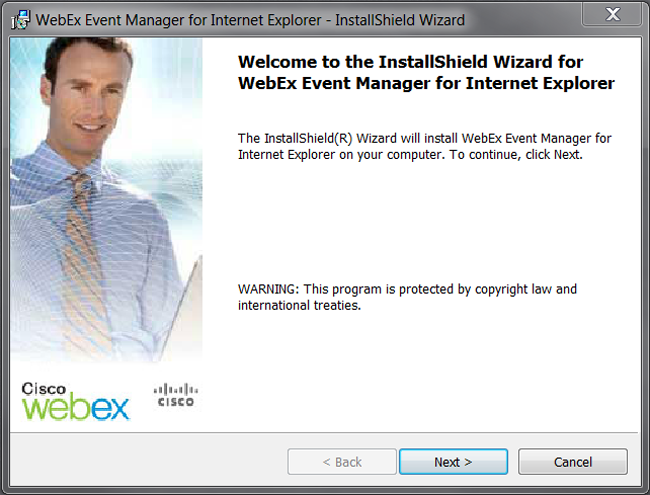
Step 3 - Read the InstallShield Wizard instructions and click "Next"
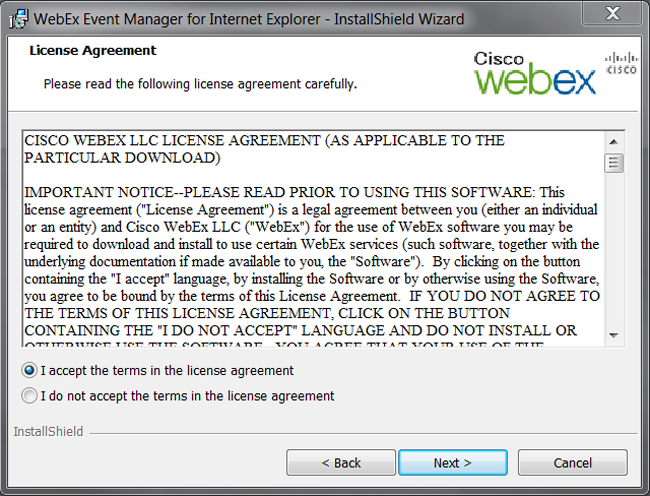
Step 4 - Read the terms in the license agreement, select the "I accept the terms in the license agreement" button and click "Next"
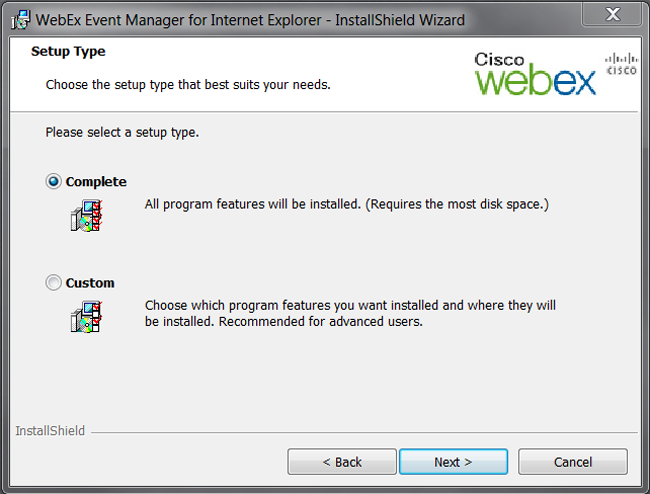
Step 5 - Choose the "Custom" button if you want to control the features you install; the "Complete" installation is the recommended selection, and the click "Next"
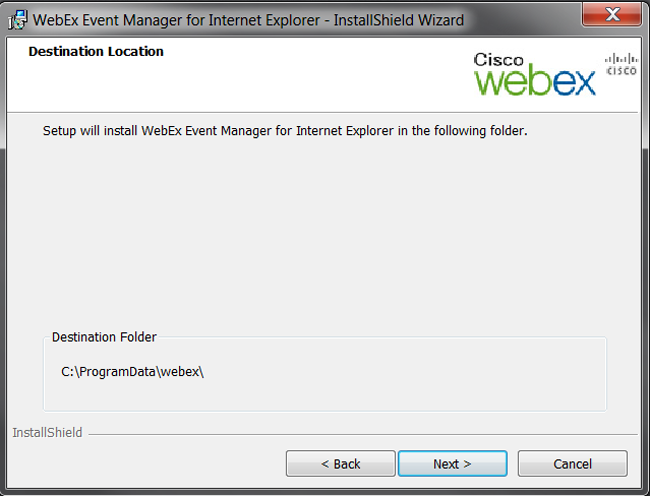
Step 6 - Verify the destination that the WebEx Event Manager will be installed and click "Next"
When you click "Next" your computer's security software may prompt you to allow the installation of the WebEx software. Make sure you select the option that allows WebEx to be installed.
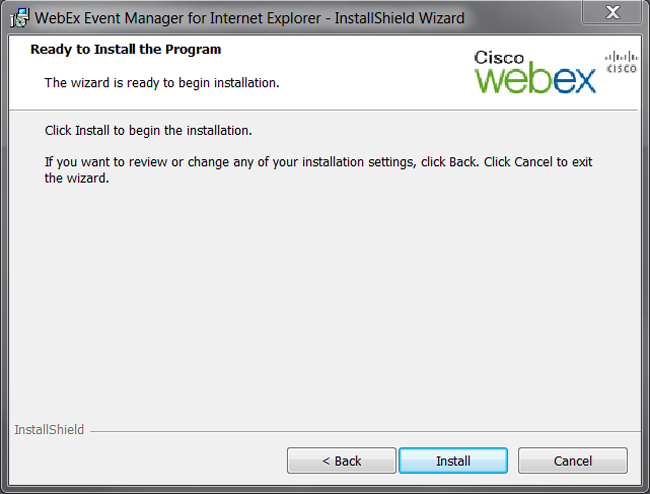
Step 7 - Click "Install"
After you click "Install" your computer's security software may prompt you to allow the installation of the WebEx software. Make sure you select the option that allows WebEx to be installed.
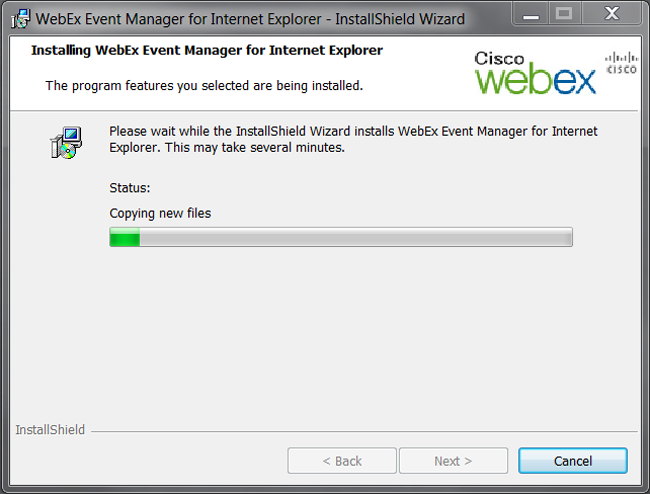
Step 8 - Wait for WebEx to be installed on your machine
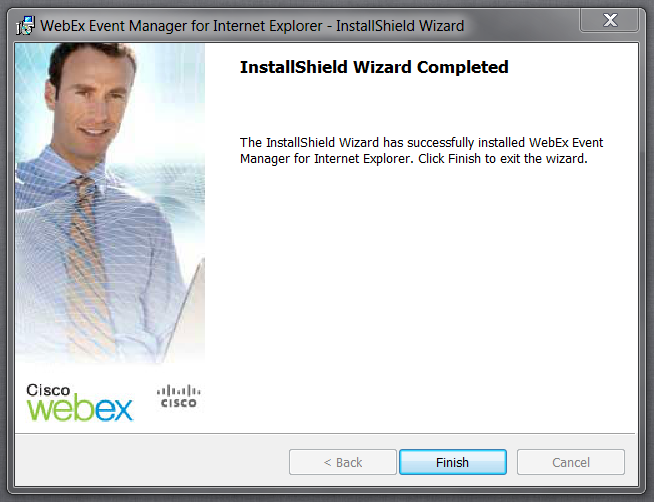
Step 9 - Click "Finish" to exit the InstallShield Wizard
Congratulations, you have finished your installation of WebEx Event Manager
Windows FireFox
Step 1 - Download the installation software for WebEx
You can click here to start your download
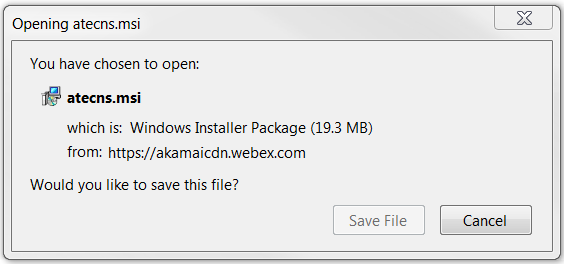
Step 2 - Click "Save File" if the pop-up below appears, otherwise move to Step 3
Step 3 - Find the green arrow in your FireFox browser, click on it and navigate to the download "atecns.msi" and the click on the file
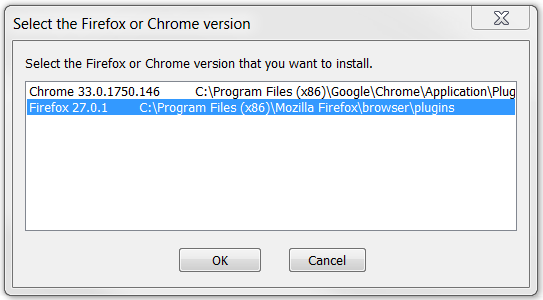
Step 4 - If the pop-up below appears, click "Ok" to continue the installation, otherwise go to Step 5
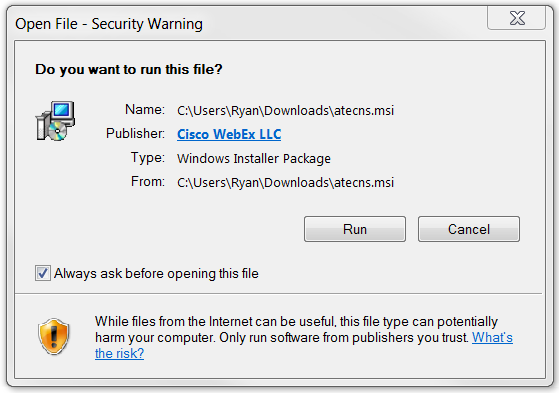
Step 5 - Verify the location of the file and click "Run" to continue the WebEx installation
Step 6 - When prompted, select the FireFox version and click "Ok"
Step 7 - Read the InstallShield Wizard instructions and click "Next"
Step 8 - Read the terms in the license agreement, select the "I accept the terms in the license agreement" button and click "Next"
Step 9 - Choose the "Custom" button if you want to control the features you install; the "Complete" installation is the recommended selection, and the click "Next"
Step 10 - Verify the destination that the WebEx Event Manager will be installed and click "Next"
When you click "Next" your computer's security software may prompt you to allow the installation of the WebEx software. Make sure you select the option that allows WebEx to be installed.
Step 11 - Click "Install"
After you click "Install" your computer's security software may prompt you to allow the installation of the WebEx software. Make sure you select the option that allows WebEx to be installed.
Step 12 - Wait for WebEx to be installed on your machine
Step 13 - Click "Finish" to exit the InstallShield Wizard
Congratulations, you have finished your installation of WebEx Event Manager
Windows Chrome
Step 1 - Download the installation software for WebEx
You can click here to start your download
Step 2 - Click on the download at the bottom of your Google Chrome browsing window
Step 3 - Verify the location of the file and click "Run" to continue the WebEx installation
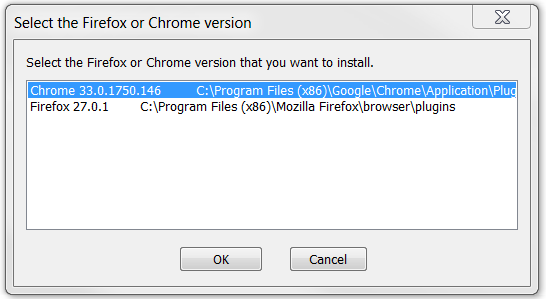
Step 4 - When prompted, select the Chrome version and click "Ok"
Step 5 - Read the InstallShield Wizard instructions and click "Next"
Step 6 - Read the terms in the license agreement, select the "I accept the terms in the license agreement" button and click "Next"
Step 7 - Choose the "Custom" button if you want to control the features you install; the "Complete" installation is the recommended selection, and the click "Next"
Step 8 - Verify the destination that the WebEx Event Manager will be installed and click "Next"
When you click "Next" your computer's security software may prompt you to allow the installation of the WebEx software. Make sure you select the option that allows WebEx to be installed.
Step 9 - Click "Install"
After you click "Install" your computer's security software may prompt you to allow the installation of the WebEx software. Make sure you select the option that allows WebEx to be installed.
Step 10 - Wait for WebEx to be installed on your machine
Step 11 - Click "Finish" to exit the InstallShield Wizard
Congratulations, you have finished your installation of WebEx Event Manager

Mac OS
Step 1 - Download the installation software for WebEx
You can click here to start your download

Step 2 - Navigate to your download folder and locate the .dmg file or double click to open the WebEx Event Event.pkg file on your desktop
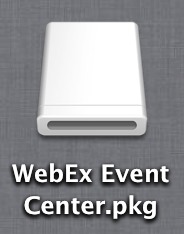
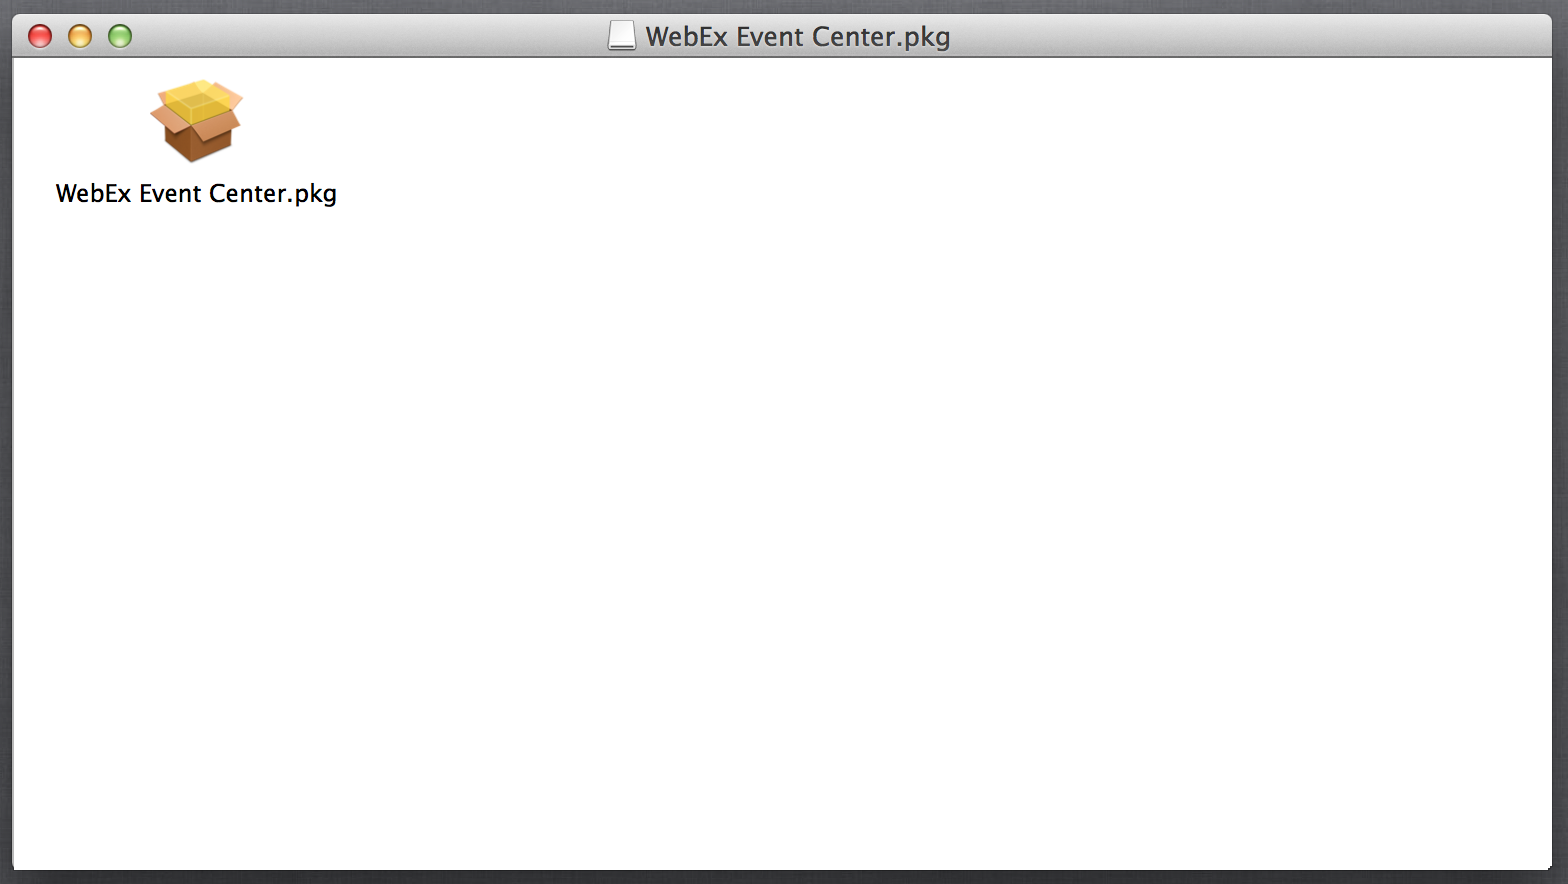
Step 3 - Once the .dmg file is open, double click the WebEx Event Center.pkg to launch the installation software
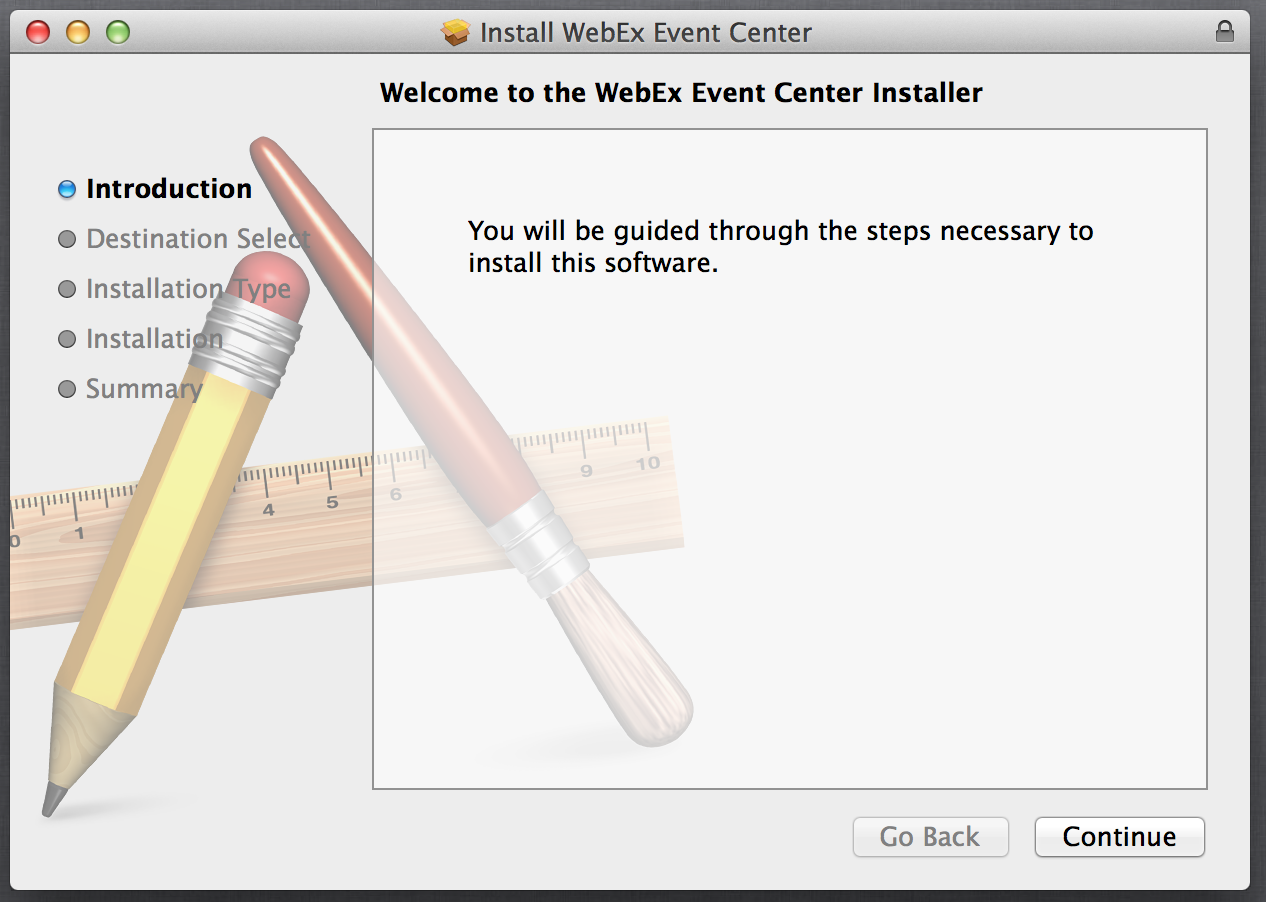
Step 4 - Once the installation software has launched, click "continue" to begin
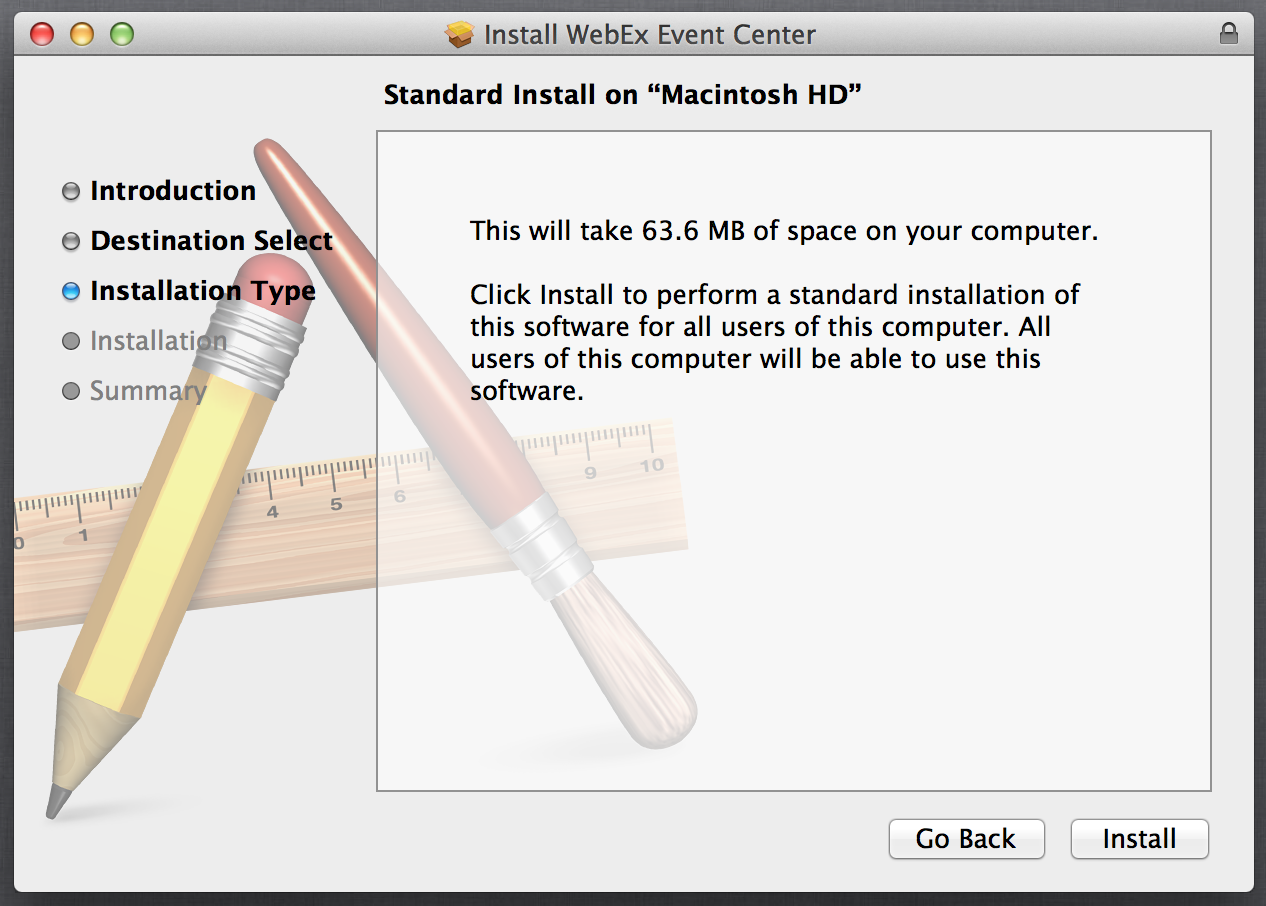
Step 5 - Make sure that you have enough disk space to install the WebEx Event Center and then click "Install" to continue
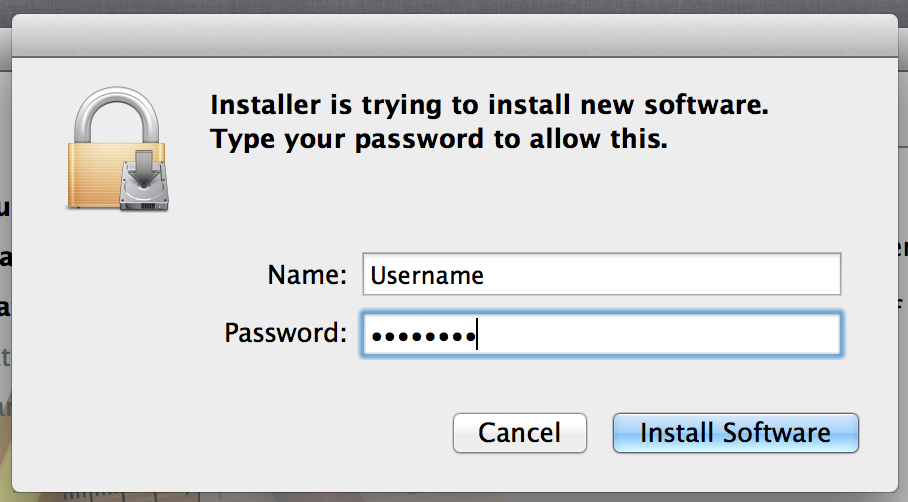
Step 6 - If needed, enter the username and password for your machine and click "Install Software" -- this may require the assistance of your systems administrator
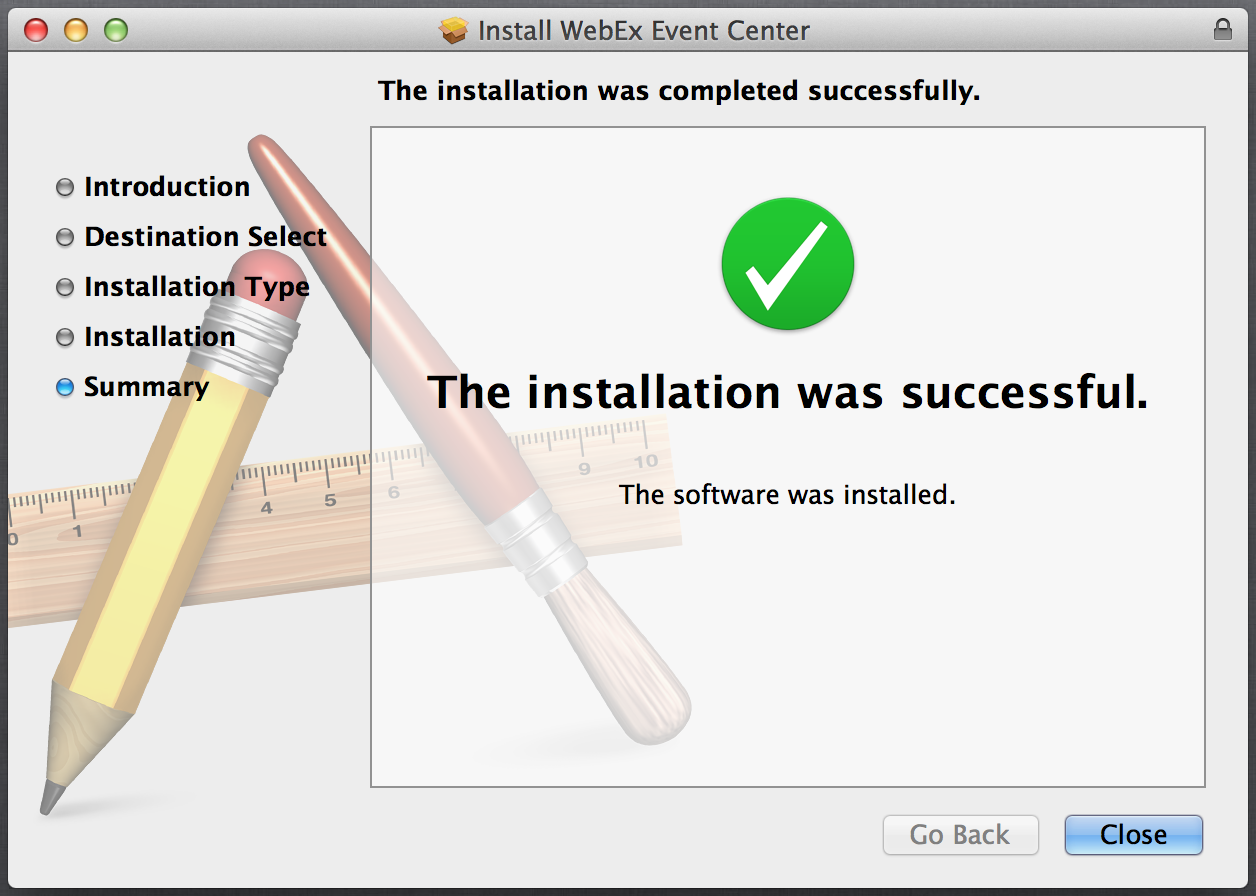
Step 7 - The installation software will process the installation and once it has been completed, click "Close" to exit the installation software
